


EndoChor® ForeHead ™
ForeHead ™ Lift Procedures
1 | Create The Port Of Entry
Make a sagittal, median, paramedian or temporal inscions depending on the surgeon’s preference. Perform the proper dissection for adequate
structural release.
2 | Determine The Drill Hole Site
Pull craniocaudally the desired structures (ie. Brow, ForeHead skin) to determine the desired position. Mark the implantation site so that the EndoChor®device will finally lie under the intact hair-bearing scalp.
3 | Drill The Hole
Deploy the EndoChor® Bone Hole Cutter to create a nest at the marked site. The hole should be in the boundaries of the temporal fusion line laterally and the coronal suture posteriorly. Drill all the way to the depth control cuff. Aspirate and dry the hole to remove all bone debris.
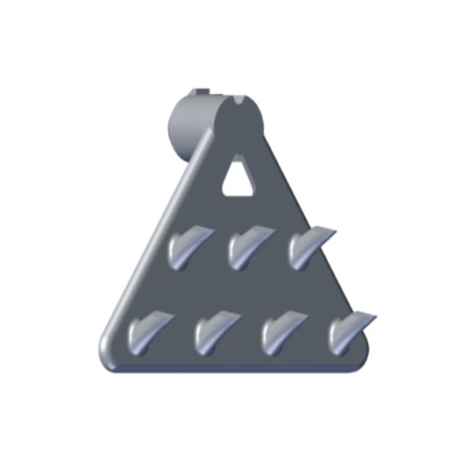
4 | Load The EndoChor® Implant
Use the EndoChor® applicator tool to snatch the implant from its packaging shell. One spike like tip of the tool settles into the hole in the EndoChor® plate and the other end embraces the implant fixation knob.
5 | Place The EndoChor Device
Insert the EndoChor® Forehead ™ implant into the drilled hole. Apply controlled pressure until the platform is integrated with the cranium. Dispatch gently the applicator from the implant.
6 | Pull The Tissue Cranio-Caudally
Lift the brow or forehead skin to the desired position. The implant may lie either anterior or lateral to the incision line.
7 | Secure The Tissue Fixation
Apply digital pressure to ensure the integration of the tissue by the device spines. Close the incision properly. A gentle pressure dressing is recommended to avoid any possible detachment.